Showing posts with label copics. Show all posts

Thursday, 21 April 2011

Easter Gift Cards

I have some Easter gift-cards to share with you today.  I made them for my bookgroup mates and gave them out last night so I can safely share today without spoiling the surprise:


From the front they just look like a card, but they hide a secret inside:

They are actually 3cm deep, and have a pocket inside into which a little chocolate lamb and some jelly hens are secreted....

Here are close ups on the individual ones - I just adore these new tilda Easter images - particularly the one with the bunny - that hat with the big bow is a delight to colour.


Here is the list of challenges for these - its quite long as there are a lot of Easter challenges out there this week ;-)


At Copic Oz the challenge is to create something to do with Easter and colour it with....  well Copics naturally ;-) http://copicoz.blogspot.com/2011/03/new-easter-challenge.html

http://magnoliadownunderchallenges.blogspot.com/2011/04/magnolia-down-under-challenge-92.html


http://craftyourdaysaway.blogspot.com/2011/04/cyda-challenge-18-easter.html


http://stampinfortheweekend.blogspot.com/2011/04/challenge-7-easter.html

http://pileitonchallenge.blogspot.com/2011/04/pio-16-smells-like-rubber.html


Thanks for stopping by today - Craftilcious x

Friday, 21 January 2011

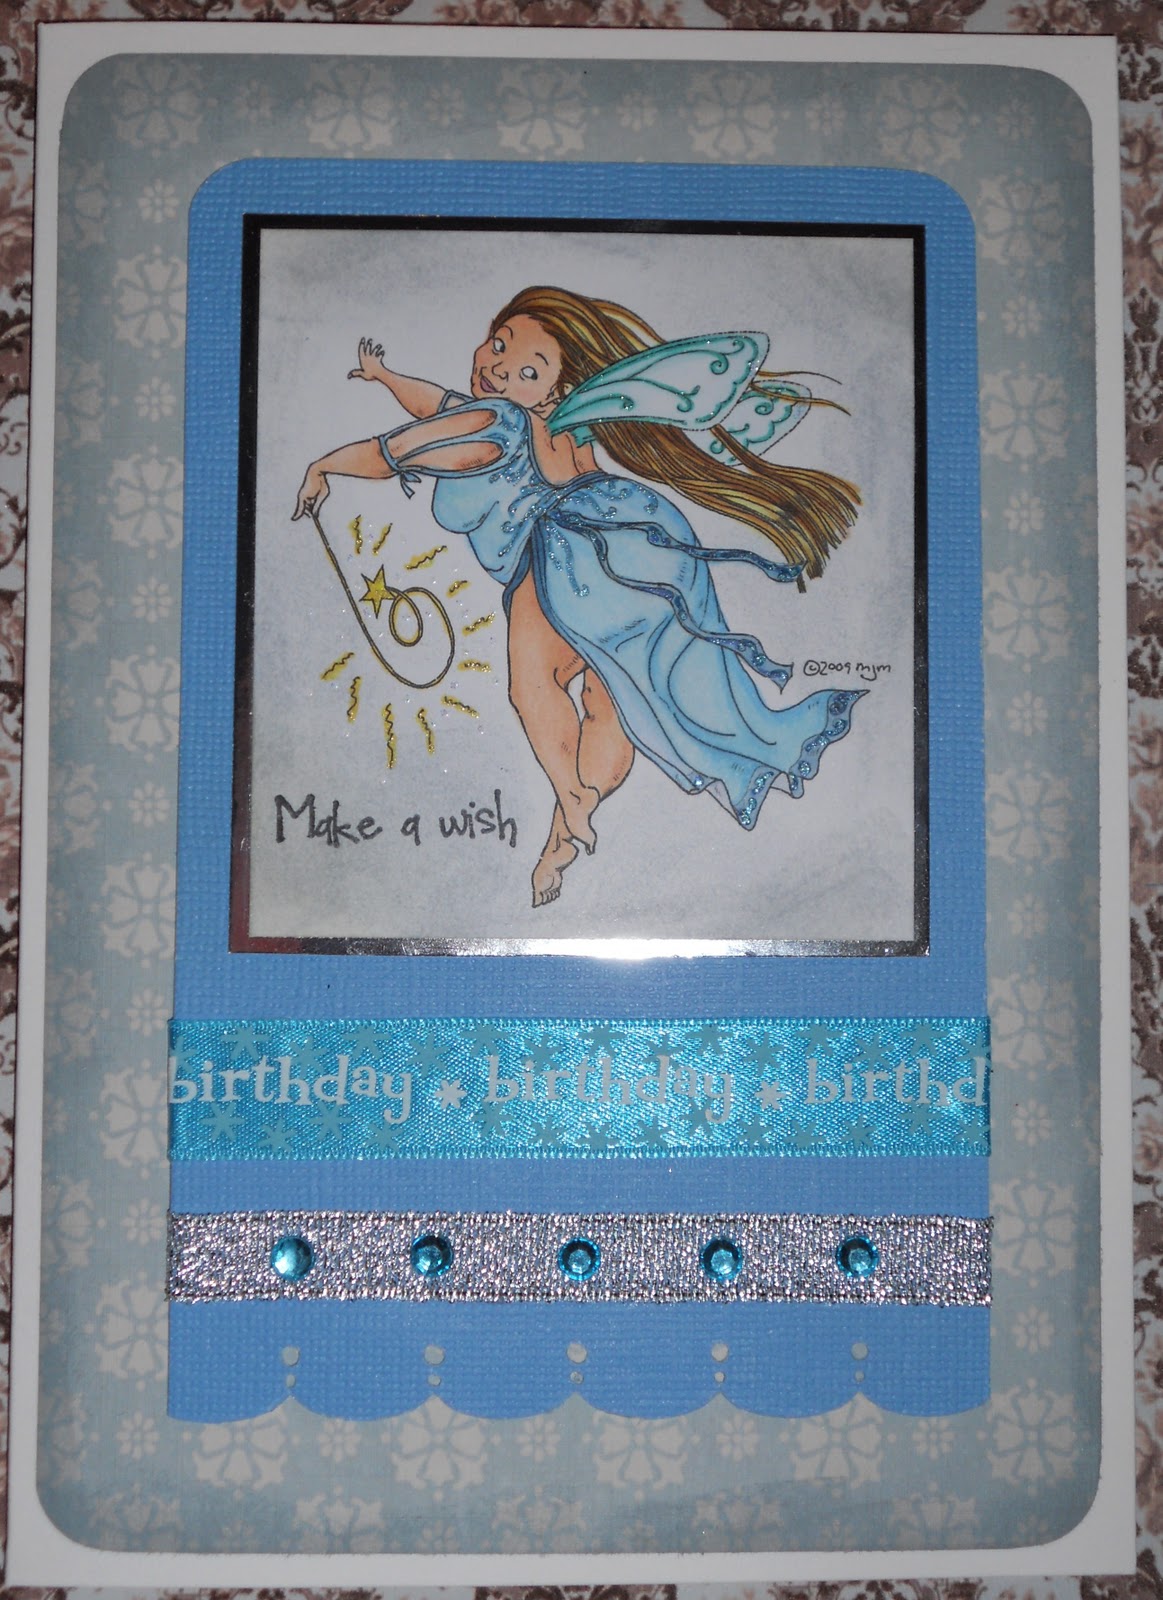
Birthday Fairy

I knew I had to colour this image as soon as I first saw it on Mo's Digital Pencil.  I made this card for a friend, who as we were best mates as teenagers, and she is very much taller and thinner than me (not hard on either score lol!) always affectionately called me, 'her little fat friend'.  So I thought I'd send her a big fat fairy to wish on for her birthday!

The image is by Mo Manning and she's a delight to colour with all her voluptuous curves!  I coloured her with copics, distressed the edges of the card I printed her onto with Ranger distress inks in weathered wood, and added the swirly details to her dress and wings with sakura glitter pens.

The DP is from Ella Blue by GCD Studios again - I just love this stack.  I distressed the edges after cropping the corners again with weathered wood.  I mounted her onto some blue card stock (with a mirri layer inbetween) and added a couple of rows of ribbons and some blue gems for added sparkle. 


I'm entering my card into the following challenges:

ABC Challenge - M is for Magic well fairies are definately magical!

Cute Card Thursday - 1, 2, 3 Recipe - I have one image, 2 ribbons and 3 layers of paper.

Flutterby Wednesday Challenge - Open Week - just has to contain a butterfly, fairy or angel.  :-)

Creative Craft Challenges - Monochromatic Madness - it is all shades of blue except for the flesh tones so I think it counts ;-)

Monday, 10 January 2011

Strut Your Stuff!

New Year, new stamp.  I got this gorgeous Kraftin Kimmie "Vivienne" stamp for my birthday back in November, but I haven't had chance to colour it in until now.  I thought she would be just perfect for my friend whose birthday it is in January, so I coloured her in with copics, and made her blonde to match the lady in question.

I added a little sparkle to the feathers and necklace with stickles, and popped her onto a background paper from my My Minds Eye Laundry Line which is one of my faves.  Unfortunately the image is unclear as apparently "I don't know how to clean my camera lense..."  Other half does though so hopefully photos from now on will be a bit better (Unfortunately I'd already given the card away before he pointed out the error of my ways!)

As this is a new stamp, it fits the theme this week over on Cupcake Craft Challenge - Something New so I am entering my card into their challenge for the first time.

Sunday, 9 January 2011

Skaterboy!

This card was a custom design for a friend for her grandson who is currently mad on skateboarding.

I used The Greeting Farm's Skater Ian stamp and coloured with copics, then I made an urban background.  A sky blue paper, layered with grey and beige offcuts at the bottom to make the road, then I cut strips of pale grey and beige to make skyscrapers.  I made windows by just dabbing the chisel end of my black copic in rows.  I finished it with a ramp for him to jump over.

Thursday, 2 December 2010

Mo's Design Team

 
My all time favourite rubber/digital stamp designer is having a DT call.  I'm not sure my work is worthy, but it really would be a dream to join Mo's Dream Team.  If you haven't heard of Mo, then go along to her blog where you can see her new designs and buy them in digital download format.

For the DT call, the rules are simple - just choose you're favourite Mo image, make a card, and link it back to her site.  I say simple, but it wasn't easy - my first problem was choosing my favourite image - it took me 5 days to make a choice - they're all so darn good!  I narrowed it down to a handful - Diva, Young Love, My Friend, Bossy or Fairy Dee.  In the end, the cupcakes in the Fairy image won out (well cupcakes are becoming part of my identity...)  One of the things I love most about Mo's images are their humour, and I love that this little birthday fairy has pigged out on the cakes - so much so that she can't even finish the one she started - you can even see the little plum shaped belly she's developing that's full of delicious cake!


I also found this image a challenge to colour as I've only ever done caucasian faces before so figuring out the colouring took a few practices.  For anyone else in the same predicament, I ended up using the following copic colours:

E31, E11, E35, E57 and E50.  I substituted a stronger peach tone in R32 for the cheeks.

For the cupcake cases, I switched to pencils and used the following colours from Faber Castell:

9201-133 - Magenta
9201-125 - Middle Purple Pink
9201-151 - Medium Flesh.

For the cupcake top I used one of my new copic sketch pen in the really pale colour range - RV0000 and added some shading with another Faber Castell in 9201-189 - Cinnamon.  A bit of glitter for the hundreds and thousands finishes it off nicely.

I went for a green dress on Dee as I love pink and green as a colour combination.  So to make the image into a card I picked two pink papers - one pale with glitter from the DCVW Sweet Treats stack, and a simple darker pink polka dot beneath.  More cupcakes, with my favourite EK Success punch and some nontraditional "green" cherry's on top with some iron on clothes sequins simply stuck on with a little silicon.

You can check out all the entries here - there are a lot there already - I just hope Mo likes mine :-)

Wednesday, 1 December 2010

It's Snowing!


Snow is definitely the theme for today, so I've decided to enter one of my favourite Mo winter images which is now also available in rubber from Stamping Bella into the weekly Bellarific Friday Challenge which is "snow" this week.


The door is coloured in pencils and blended with sansoder and blending stumps.  I used Linda's towel technique using lots of dots in various shades of green copic markers to colour the actual wreath.  Red stickles for berries, and white stickles for the all important snow finish the look, along with a little bow from my stash of ribbon.  The background papers are both from the DCWV Christmas Stack.

We've already got the worst snow Sheffield has seen in 30 years, and its still falling.  The cat has cabin fever and much more of this and we'll not be far behind her!  Keep warm everyone and get the soup on!

Tuesday, 30 November 2010

Antipodean Wedding Card


I made this card for a friend whose sister is getting married on December 1st on Hamilton Island in Australia (the one from Murial's Wedding).  I made a box card, with a picture of the love heart reef which is just off Hamilton Island as the background image, a Magnolia arbour stamped and cut out as the middle ground, and an Elzybels bride and groom stamped a cut out on the frame in the foreground.   I used my new copic sketch colours from the 0000 range - the more 0's the paler the colour - perfect for snow and wedding dresses!  I stamped extra flowers from the Magnolia arbour and stuck them over a MarianneD swirl.  The side view below shows the layers a little clearer.

Monday, 11 October 2010

Kraftin Kimmie Stamps

Kraftin Kimmie is a relatively new range of stamps from Canada - Kimmie recently celebrating her first anniversary - boy what a great range they've produced in just a year!   I love their Moonlight Whispers range - the characters are just gorgeous and colour up amazingly!  I bought a couple to try and had such fun with both of them.   I get mine in the UK from Quixotic Paperie and if you hurry on over to her store, Elaine has 10% off all rubber stamps until 13th October.

My first purchase is Suzette the Can Can girl - isn't she fab?  I stamped and coloured her with a mix of copics and pencils blended with sansoder and blending stumps.  I cut her out and mounted her onto color-core black magic card which I embossed using a "twinkle" crafts too embossing folder in my big kick, and sanded the embossed areas to reveal the color-core card to look like lights twinkling behind her on stage.  I added a co-ordinating strip of paper embossed again with a crafts too folder - this time damask which I adore.  A little card candy and copic colour-co-ordinated sentiment from craft works and a glitter strip finish off the card.


Most of the stamps come with a matching sentiment - I went for Rapunzel here because I could see lots of cards I could make with the sentiment of "let your hair down"  I coloured her with copics and pencils as before, but slightly over blended the hair so it looks a bit flat unfortunately (good excuse to have another go later!)  This time I used a Marianne D Creatables die to cut out the star border, and threaded some silver ribbon through it and mounted it onto black card.  I like the black background with these stamps - it really makes them pop, so I cut her out and half mounted her onto the black borders strip.  I stamped the sentiment in silver to match the ribbon and added another Craft Works sentiment, again, colour matched to the dress with the same copic (they colour so well with copics - the pearly card still shines through)


I've just ordered Cinderella from the same range - for her the sentiment is "its all about the shoes" which is very apt for me and many of my girl friends so can't wait to get her!

Sunday, 22 August 2010

Birthday Diva Two Ways

I needed to make an 18th and 40th Birthday card this week for my cousin's daughter and one of the book club girls respectively and I thought that "Diva" by my favourite digi-stamp artist Mo Manning would be just about perfick for both of them.


I coloured her up in two completely different ways - one pink, one green and blue and to be honest I'm not sure which I like best - the image itself just makes it so easy to colour it right.  Copics, blended pencils and quite a bit of glitter and crystal embelishment and you're good to go Diva-tastic.  I even used a little "smooch" pearl ink to highlight the pearls around her neck, highlighted with glossy accents.


The bracelet was for the 18th Birthday - it's a clubbers bracelet - the round beads glow in the dark :-)

Wednesday, 4 August 2010

All About the Boys

 It's was all male birthdays for me in July and I usually find men's cards hard but I was really pleased with the ones I came up so I thought I'd share a few.  My favourite was this one for my husband's friend who is a video game addict so this Mo Manning digi-stamp is just perfect!  I was very pleased with how well the jeans came out.  I coloured him with copics and pencils blended with sansoder.


Then we had a couple of bikers - one of the pedal power variety which is just a great wire topper mounted with a lot of silicon onto a mount and then onto an embossed happy birthday using my sissix.  The other biker prefers a bit more petrol so I used a kanban pop-up motobike and coloured it copics and metalic markers for all the chrome and added some bubblewrap behind the headlight to provide some texture.


Sunday, 14 March 2010

Lots of new stamps

I've been a bit carried away with rubber stamping recently, mainly due to following a great card makers blog from America - Paula Tracey - her cards are amazing and her colouring techniques from copic markers or prisma colour pencils and blending tools are hard to beat. I don't really have any of her artistic skills but I'm practicing hard.


The first card is a sugar nellie stamp coloured with copics, the background is pencil coloured and blended with sansoder with a star and swirl backgorund stamp.


My second card was a mothers's day card for my aunt and god mother. A cute magnolia girl coloured with copics and gently glittered with fairy dust, sitting on a nestabilities lable frame, with a martha stewart border punch and one of the gorgeous new flower stamps from elzybels a her circular happy mothers day sentiment.


Blogging tips